好像现在的站长都喜欢让用户投稿,最近看上了一款前端富文本编辑器quill,顺便做下前端投稿的功能。前端投稿最重要的就是媒体文件的上传,quill富文本编辑器也提供了相应的api,我们完全可以自己实现前端上传媒体文件的功能。这篇文章主要涉及到WordPress的媒体上传函数wp_insert_attachment的使用,PHP接口的写法,ajax上传文件并回调的应用。来和我一起打造一款自己的前端富文本编辑器吧!
WordPress前端投稿实现图片上传
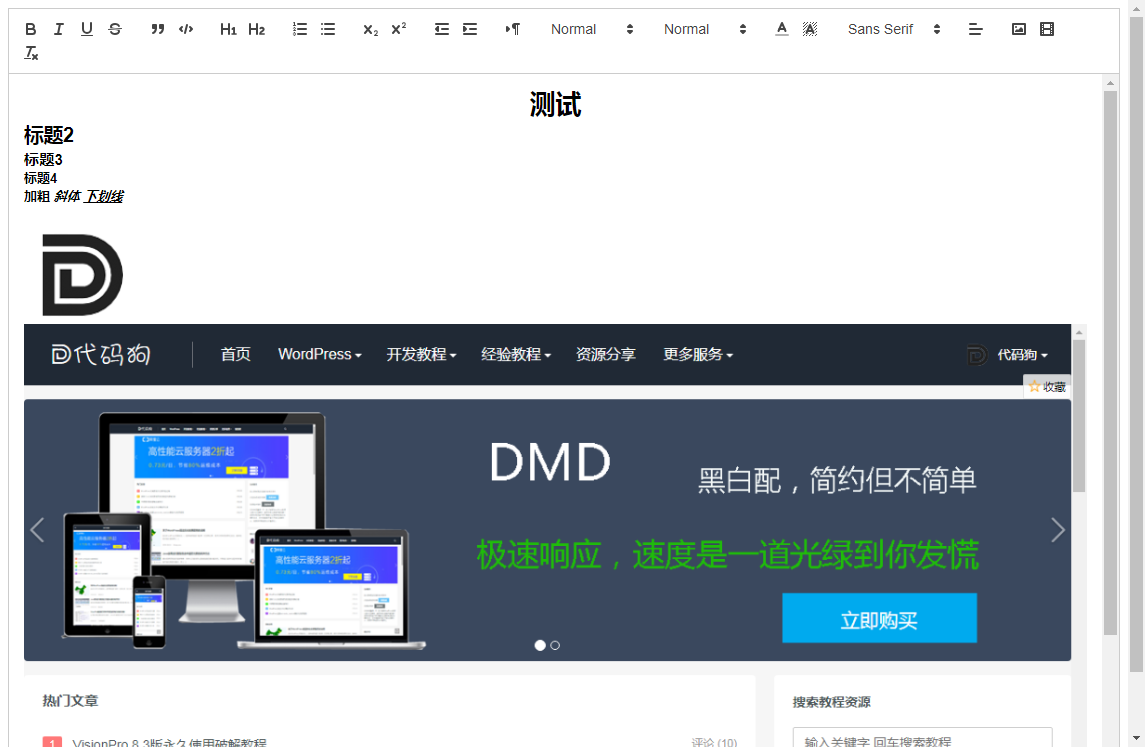
首先新建个HTML页面,里面写上加载quill前端编辑器的基本代码,直接参考quill官网的开发文档快速接入步骤说明即可。我这里就不贴HTML头部和底部了,自己写吧。
引入quill样式
复制
<link href="https://cdn.quilljs.com/1.3.6/quill.snow.css" rel="stylesheet">
引入quill编辑器的js支持
复制
<script src="https://cdn.quilljs.com/1.3.6/quill.js"></script>
quill编辑器加载容器
复制
<div id="editor"></div>
quill编辑器初始化配置
复制
<script>
var toolbarOptions = [
  ['bold', 'italic', 'underline', 'strike'],        // toggled buttons
  ['blockquote', 'code-block'],

  [{ 'header': 1 }, { 'header': 2 }],               // custom button values
  [{ 'list': 'ordered'}, { 'list': 'bullet' }],
  [{ 'script': 'sub'}, { 'script': 'super' }],      // superscript/subscript
  [{ 'indent': '-1'}, { 'indent': '+1' }],          // outdent/indent
  [{ 'direction': 'rtl' }],                         // text direction

  [{ 'size': ['small', false, 'large', 'huge'] }],  // custom dropdown
  [{ 'header': [1, 2, 3, 4, 5, 6, false] }],

  [{ 'color': [] }, { 'background': [] }],          // dropdown with defaults from theme
  [{ 'font': [] }],
  [{ 'align': [] }],
 ['image', 'video'],
  ['clean']                                         // remove formatting button
];
  var quill = new Quill('#editor', {
   modules: {
    toolbar: toolbarOptions
  },
    theme: 'snow'
  });
</script>
上面部分只是为了加载quill富文本编辑器而已,现在用浏览器访问下应该可以看到一个完整的富文本编辑器了,下面接着写上传图片的js代码。
重写编辑器的图片预览方法
复制
<script>
var toolbar = quill.getModule('toolbar');
            toolbar.addHandler('image', function () {
                var fileInput = this.container.querySelector('input.ql-image[type=file]');
                if (fileInput == null) {
                    fileInput = document.createElement('input');
                    fileInput.setAttribute('multiple', 'multiple');
		    fileInput.setAttribute('id', 'file');
		    fileInput.setAttribute('type', 'file');
		    fileInput.setAttribute('accept', 'image/*');
                    fileInput.setAttribute('name', 'files[]');
                    fileInput.classList.add('ql-image');
                    fileInput.addEventListener('change', function () {
                        if (fileInput.files != null && fileInput.files[0] != null) {
                            var formData = new FormData();
                            formData.append('files', fileInput.files[0]);
				$.ajax({
				url: '上传图片接口地址',
                                type: 'POST',
                                cache: false,
                                data: formData,
                                processData: false,
                                contentType: false
                            }).done(function (res) {
				json1=eval("(" + res + ")");
				console.log('>>>>>>'+json1.data.src);
                                var range = quill.getSelection(true);
                                quill.insertEmbed(range.index, 'image', json1.data.src);
                                quill.setSelection(range.index + 1);
                            }).fail(function (res) {
                            });
                        }
                    });
                    this.container.appendChild(fileInput);
                }
                fileInput.click();
            });
</script>
好了,前端部分结束,下面是PHP实现的WordPress媒体上传接口,注意文件引用路径。
复制
require dirname(__FILE__).'/../../../../wp-load.php';
//WordPress核心,根目录下,自己换
$file = $_FILES['files'];
if ( !empty( $file ) ) {
// 获取上传目录信息
$wp_upload_dir = wp_upload_dir();
// 将上传的图片文件移动到上传目录
$basename = $file['name'];
$filename = $wp_upload_dir['path'] . '/' . $basename;
$re = rename( $file['tmp_name'], $filename );
$attachment = array(
'guid' => $wp_upload_dir['url'] . '/' . $basename,
'post_mime_type' => $file['type'],
'post_title' => preg_replace( '/\.[^.]+$/', '', $basename ),
'post_content' => '',
'post_status' => 'inherit'
);
$attach_id = wp_insert_attachment( $attachment, $filename );
require_once( ABSPATH . 'wp-admin/includes/image.php' );
$attach_data = wp_generate_attachment_metadata( $attach_id, $filename );
wp_update_attachment_metadata( $attach_id, $attach_data );
$re = array('code'=>0,'msg'=>'上传成功','data'=>array('src'=>wp_get_attachment_url( $attach_id ),'title'=>''));
print_r(json_encode($re));
}
有点奇怪的是我在PHP返回了json数据,但js接收到的却是字符串,只好在js中转化了下。


评论 (0)